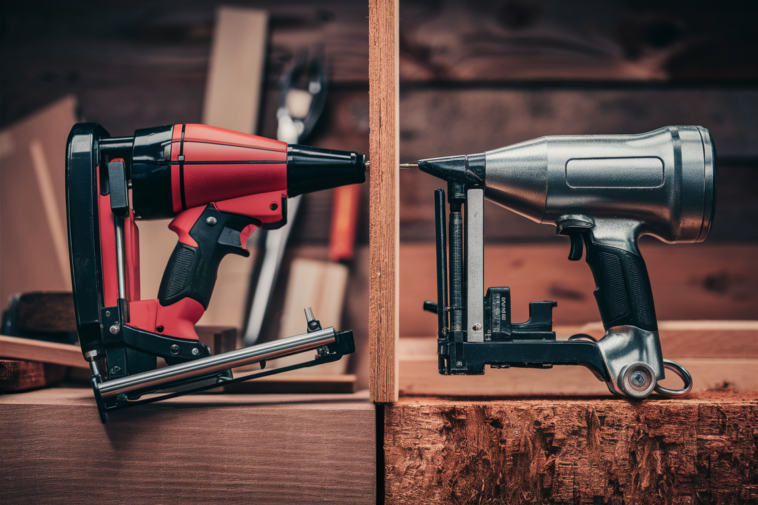
The decision between a brad nailer and a pin nailer is crucial, as each serves specific purposes. Consider the thickness of the material and the required level of hold for your project. If strength and versatility are paramount, a brad nailer might be the best option. However, if you’re working with delicate materials or the appearance of the final product is critical, a pin nailer could be more suitable.
Cost and nail availability are also important factors. While both types of nails are relatively inexpensive, costs can accumulate over time, particularly for frequent users. Ensure the nails for your chosen nailer are readily available locally or online to prevent project delays.
Innovative Projects to Try with Your Brad Nailer or Pin Nailer
Once you’ve selected the right nailer, it’s time to explore creative projects. Brad nailer owners can tackle custom bookcases or picture frames, leveraging the tool’s strength and versatility. Pin nailer users might consider delicate tasks like crafting jewelry boxes or assembling model ships, showcasing the tool’s precision and minimal impact on materials.
Remember, successful projects depend not only on choosing the right tool but also on practicing and understanding its capabilities and limitations. Don’t hesitate to experiment and push boundaries with your nailer.
The debate between a brad nailer and a pin nailer isn’t about determining the superior tool overall but choosing what’s best for your specific needs. By understanding the unique advantages of each and considering your project requirements, you can make an informed decision that enhances your woodworking endeavors.
Crafting a DIY Busy Board: Engage Your Toddler with Creativity
For crafty parents seeking to engage their toddlers in fun and educational play, a DIY busy board is an excellent project. Offering endless opportunities for creativity and personalization, busy boards provide a hands-on learning experience for little ones.
Incorporate various elements like locks, latches, and knobs to develop fine motor skills, cognitive abilities, and sensory processing in a playful environment. Choose safe and stimulating materials, ensuring they’re securely attached and free from sharp edges. Design a layout that challenges and interests your child, considering both simple and complex tasks.
Personalize the busy board with your child’s name, favorite colors, or items reflecting their interests. This personal touch adds sentimental value and makes the busy board a cherished item for years to come.
Ensuring Your DIY Busy Board is Safe for Play
While DIY busy boards offer fantastic developmental opportunities and fun, ensuring they’re safe for little explorers is paramount. Regularly inspect the board for any loose items or sharp edges that could pose a risk. Use non-toxic paints and sealants to prevent harmful substances from coming into contact with your child. Consider mounting the busy board securely to a wall or sturdy base to prevent tipping during play.
Crafting a DIY busy board is not only a creative outlet for parents but also a valuable educational tool for toddlers. Carefully selecting materials, designing an engaging layout, and personalizing the board can create an environment that fosters learning through play. Prioritize safety at every step to ensure the busy board brings joy and discovery to your child. The journey of making a busy board is as rewarding as watching your little one explore each element with curiosity and excitement. So, grab your tools, unleash your creativity, and embark on this wonderful project that combines fun, learning, and love.
Miter Saw vs Table Saw — Which One is Right for Me?
When it comes to woodworking and DIY projects, having the right tools is essential. Two commonly used power tools are miter saws and table saws. Understanding their differences can help you choose the right tool for your project needs.
Miter Saw
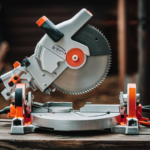
Miter saws excel at making precise angled cuts, perfect for trim work, framing, and projects requiring accurate angles. They come in various types, including compound miter saws that tilt in two directions for added cutting flexibility.
Ideal Projects:
- Crown Moulding Installation: Achieve seamless corners and professional finishes.
- Picture Frame Construction: Create custom frames with precise angled cuts.
- Baseboard and Trim Installation: Make clean cuts for a seamless fit.
- Deck Building: Accurately cut deck boards and railing components.
- Furniture Making: Cut wood pieces with precision for custom furniture.
Table Saw
Table saws are versatile tools for making straight cuts, ideal for ripping large pieces of wood, cutting plywood, and precise woodworking. They come in different sizes and configurations, from portable options for job sites to heavy-duty cabinet saws.
Key Features:
- Circular saw blade mounted on an arbor driven by an electric motor.
- Flat and stable surface provides support and ensures cut accuracy.
- Available in various types, including benchtop, contractor, and cabinet saws.
- Advanced features like adjustable fences and dust collection systems enhance safety and efficiency.
Safety Guidelines:
- Wear appropriate protective gear.
- Keep the work area clean and organized.
- Use push sticks or blocks to guide wood through the blade.
Understanding the features and proper usage of miter saws and table saws helps woodworkers achieve precise cuts while maintaining a safe working environment. Choose the tool that best suits your project requirements and enjoy the satisfaction of crafting with precision and safety.


