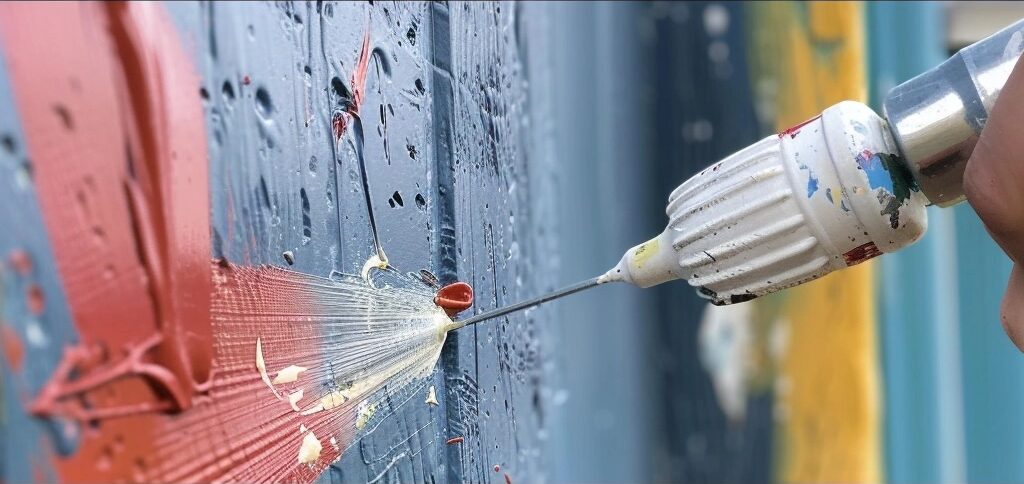
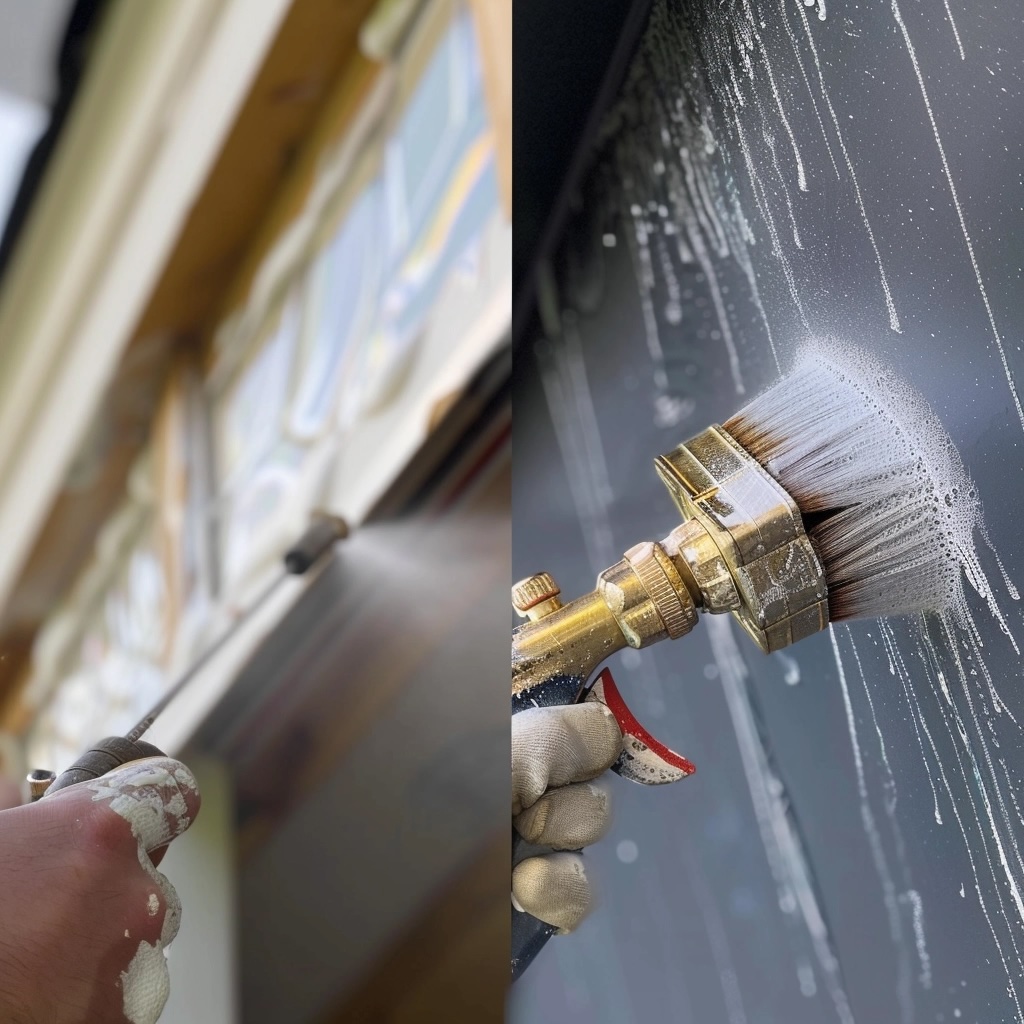
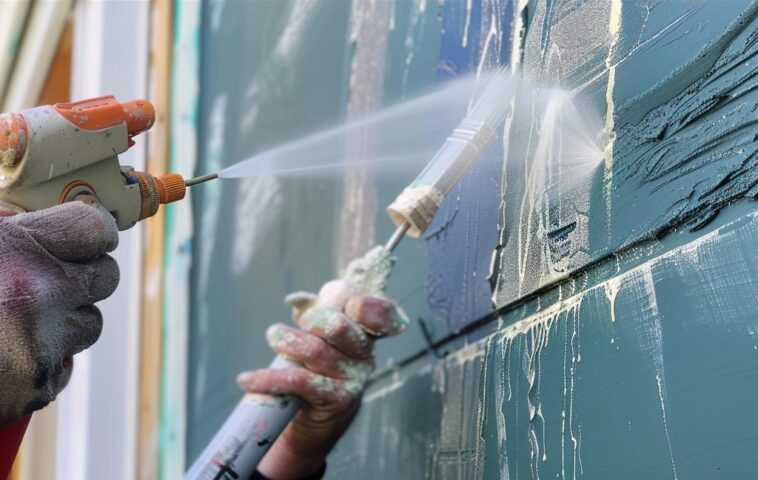
Adding a fresh coat of paint can significantly enhance your home’s exterior appeal. While painting may not be your favorite task, a paint sprayer can expedite the process and give your project a professional finish. Our comprehensive guide will walk you through the best practices for using a paint sprayer on your outdoor projects.
Advantages of Using a Paint Sprayer:
Whether you’re tackling a large or small painting project, a paint sprayer can streamline the process and improve efficiency. The versatility of paint sprayers makes them suitable for various applications, from painting exterior walls to reviving a weathered wood fence. With different types of paint sprayers available, you can achieve professional results without extensive experience. Let’s explore the types of paint sprayers and their ideal applications to elevate your home’s curb appeal.
Types of Paint Sprayers:
Paint sprayers are designed to apply paint onto surfaces at a faster pace compared to traditional brushes or rollers. While they offer time-saving benefits, it’s important to consider factors like paint consumption and project size when selecting a paint sprayer. There are three primary types of paint sprayers: airless, high-volume low pressure (HVLP), and pneumatic.

Airless Paint Sprayer:
Ideal for large-scale projects, airless paint sprayers deliver paint under pressure through a small orifice, creating a mist for uniform coverage. They excel in covering expansive surfaces efficiently and are suitable for projects like painting exterior walls or fences.
High-Volume Low-Pressure (HVLP) Paint Sprayer:
HVLP sprayers atomize paint using a volume of air at low pressure, resulting in a softer spray pattern. They are well-suited for trim work and smaller projects requiring precision, such as painting intricate details or refinishing furniture.
Pneumatic Paint Sprayer:
Also known as air paint sprayers, pneumatic sprayers utilize compressed air to apply paint in a high-pressure stream. While they require a separate air compressor, pneumatic sprayers are versatile and suitable for various projects, including small to medium-sized applications.

Using a Paint Sprayer on Specific Outdoor Surfaces:
Each outdoor surface requires specific considerations and techniques when using a paint sprayer. Whether you’re painting a fence, deck, or garage door, proper preparation and application are key to achieving professional results.
Using a Paint Sprayer on Fences:
For fence painting, airless sprayers are recommended for their efficiency and coverage. Begin by cleaning the surface thoroughly and removing any debris or flaking paint. Protect surrounding areas with drop cloths or plastic sheeting, and adjust the sprayer to the lowest pressure setting to prevent overspray. Apply paint evenly along the length of the boards, maintaining a distance of at least 12 inches from the fence to avoid drips or blotches.
Using a Paint Sprayer on Decks:
Airless sprayers are ideal for painting decks due to their ability to cover large surfaces efficiently. Before painting, clean the deck surface and ensure it is completely dry. Start by spraying the deck supports and outer edges before moving to the main surface. Work in small sections, overlapping each pass by 50 percent to achieve uniform coverage.
Using a Paint Sprayer on Garage Doors:
Garage doors with angles and intricate details benefit from airless paint sprayers. Prior to painting, clean the door surface and make any necessary repairs. Protect surrounding areas with tape and plastic sheeting, and apply paint in small, manageable sections, keeping the sprayer in motion to avoid drips or heavy spots. Once painted, allow the garage door to dry fully before use.
By following these guidelines and choosing the right paint sprayer for your outdoor projects, you can achieve professional-quality results and enhance your home’s curb appeal effortlessly.
Using a Paint Sprayer for Outdoor Projects:
Painting sheds, shutters, and house exteriors can be a breeze with a paint sprayer. Follow these guidelines for optimal results:
Painting Sheds:
- Preparation: Begin with a clean surface. Pressure wash the shed or clean it with soapy water. Cover hardware with painter’s tape.
- Paint Selection: Opt for an HVLP sprayer and acrylic latex paint, thinned for a smoother finish.
- Application: Start painting, removing tape while the paint is wet to prevent jagged lines.
Painting Shutters:
- Preparation: Remove shutters, label them for reassembly, and protect surrounding areas with drop cloths.
- Cleaning: Ensure shutters are clean and dry before painting.
- Painting: Use horizontal sweeping motions, keeping the sprayer 12 inches from the surface. Paint edges and allow shutters to dry before reinstalling.
Painting House Exteriors:
- Preparation: Cover windows and doors, and pressure wash the surface to remove dirt and loose paint. Make necessary repairs.
- Paint Selection: Choose an airless paint sprayer for efficient coverage.
- Application: Start from the top down, using left-to-right motions. Paint hard-to-reach areas with a tip extension and overlap passes by 50 percent.
Understanding Airless Paint Sprayer Tips:
- Tip Size: Tips control fan width and coating depth. Sizes are represented by a 3-digit number, indicating fan size (multiplied by 2) and orifice size.
- Chart Reference: Consult a chart for common tip sizes, selecting based on paint thickness and coverage needs.
Paint Spraying: Tips to Remember:
- Calculate Paint Quantity: Estimate paint needs, considering potential overage.
- Follow Manual Instructions: Adhere to manufacturer recommendations and safety precautions.
- Safety Gear: Wear a respirator, gloves, and safety goggles.
- Surface Preparation: Clean thoroughly and scrape peeling paint on wood surfaces.
- Practice: Experiment on cardboard to find the right pressure setting.
- Consistent Distance: Maintain a uniform distance from the surface for even coverage.
- Cleanup: Use a paintbrush for runs and drips, and clean spills promptly.
- Drying Time: Allow surfaces to dry completely between coats.
- Safety First: Avoid pointing the sprayer at anyone during operation.
With these tips in mind, you can achieve professional-quality results and enhance your home’s appearance effortlessly.


