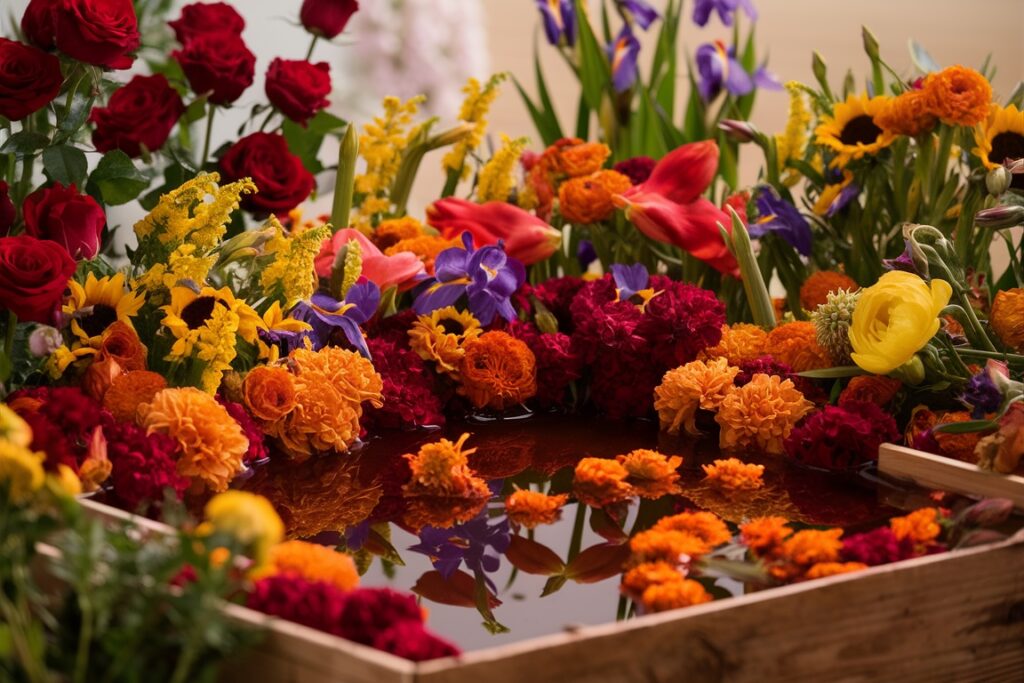
Picture the delight of wandering through a farmer’s market, greeted by rows of vibrant, freshly-cut flowers. With just a few dollars, you can bring home a fragrant bouquet to adorn your space and uplift your spirits instantly. But imagine if you could cultivate those stunning blooms right in your own backyard, eliminating the need for market trips altogether. More and more gardening enthusiasts are embracing the idea of nurturing their own cut flower gardens, reaping the rewards of fresh, homegrown blooms while relishing the satisfaction of tending to their floral creations.
Fortunately, starting your own cut flower garden is simpler than you might think. Here’s a guide to help you kickstart your journey into growing long-stemmed flowers.

Essential Requirements for a Cut Flower Garden
All you really need to begin is a suitable patch of sunny yard space and some quality potting mix. Whether you opt for in-ground planting, raised beds, or containers depends on your preference and the conditions of your soil. For those dealing with drainage or soil quality concerns, raised beds are often recommended to provide better control over growing conditions.
Once you’ve identified your garden space, it’s time to gather seeds for the flowers you envision. But before you get too carried away, consider which flowers thrive best in your climate. Checking your plant hardiness zone and comparing it to the zones indicated on seed packets ensures you select varieties suited to your environment.
Top Picks for Easy-to-Grow Cut Flowers
According to gardening expert Louise Curley from Amateur Gardening magazine, focus on hardy and half-hardy annuals, commonly known as “cut and come again” flowers, for continuous blooms throughout the season. Some stellar choices include cosmos, zinnias, scabious, and sweet peas. These varieties replenish themselves with more blooms after each harvest.
Additionally, consider integrating bulbs, biennials, and foliage to enhance your garden’s diversity. Beginner-friendly bulbs like dahlias, daffodils, lilies, and hyacinths add charm and color. Biennials such as foxgloves, hollyhocks, stock, and sweet william contribute seasonal interest, while foliage plants like euphorbia, bells of Ireland, and bupleurum offer texture and contrast.
By incorporating a mix of blooms, you’ll ensure a continuous supply of cut flowers from spring through fall, enriching your home with nature’s vibrant beauty.

Planning and Spacing Your Cut Flower Garden
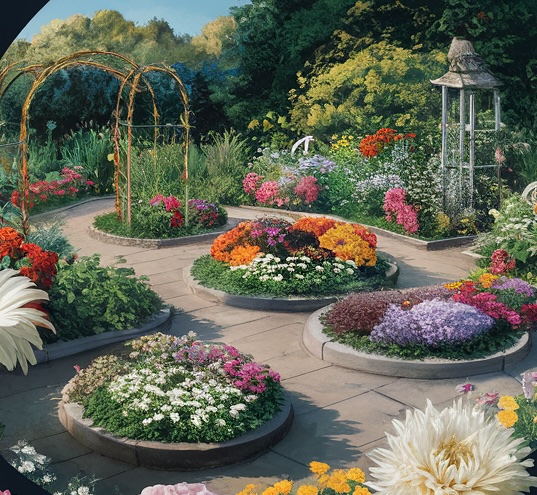
Before diving into planting, take a moment to design your garden bed layout. Grab some paper and a pencil, and sketch your garden to scale, visualizing the placement of each flower variety. Consider the spread and height specifications listed on the seed packets to ensure proper spacing and arrangement. Include ample pathways for easy access to each plant for watering, weeding, and harvesting.
Planting Your Cut Flower Garden
Once you’ve finalized your garden design, mark the planting locations in your flower beds and clear out any weeds. Prepare the soil by tilling it with a blend of potting mix, organic material, and fertilizer. When it’s time to sow the seeds, consider staking taller flowers for support or planting them close together to provide mutual support. Follow the seeding instructions provided on the seed packets for optimal growth.
Maintaining Your Cut Flower Garden
Maintaining a cut flower garden involves routine tasks like watering, weeding, and fertilizing, similar to any other garden. However, incorporate regular deadheading into your care routine by pinching off spent flowers just below the base of the stem. This encourages the plant to redirect its energy towards producing more long-stemmed blooms.
To ensure a steady seed supply for the next growing season, allow some flowers to go to seed. Collect seeds by placing a paper bag over the bloom, gently shaking it to release the seeds inside, then sealing the bag and labeling it with the plant variety.

Harvesting Your Cut Flower Garden
When it’s time to harvest, prepare a large bucket of cool water to immediately immerse the freshly cut flowers. Use sharp cutting shears to trim the stems at the intersection with the main plant stem, ensuring a clean cut. Avoid leaving any part of the stem behind. Store the harvested flowers in the water bucket for several hours or overnight to hydrate them fully. Before arranging them in a vase, cut the bottom of the stems at an angle and place them in fresh water. Remember to change the water daily and give the flowers a fresh trim every few days to prolong their vase life.
With these simple steps, you’re just a few moments away from enjoying a stunning bouquet of freshly cut flowers, perfect for welcoming the beauty of spring into your home!


